OK, I''m running behind; no excuses. I still have two posts that I need to address, plus the person that won the silent gift contest has not come forward. Getting those issues out of the way, temporarily, I thought it best to move on and announce my upcoming felt blocking class. It's a one-day, eight-hour plus class; I've never been a clock watcher. I know, I know! I hate one-day classes because I can't give homework, and I can't give constructive criticism after a student has worked on her/his hat at home. Well the world is moving faster than I am, so I have to be more innovative when teaching a class. How? Actually it's quite simple. It's a combination of teaching students millinery techniques and trying to teach them how to see. If anything I've learned over the years is how much better off those are that can see compared to those that cannot see. This is true for all disciplines.
Have you ever noticed that some milliners never get any better. Many times it has very little to do with the number of years a person has been a milliner or the person that the milliner has studied under. Basically, that stuff can be saved for a resume. Yes, it sounds impressive, but if you can't see, you can't improve your work. Now we're not talking about style and/or design skills here; we're talking about technical skills. There are fabulous designers out there with horrible technical skills and no one even notices. Well, there are some of us that notice, those of us that are so cursed that we can't enjoy the designs because we're too busy looking at those pulling stitches, that blocking job that looks like cellulite, that covered brim with the falling underside, that brim that looks like it's flying in the wind even if there is no wind blowing, etc. Yes, it is a curse. I think I've written this before. I definitely need to return to couture millinery. For me that's frame covered hats.
So what are the barriers to seeing. Today it's the teacher, etc., that passes out stickers to everyone because they don't want anyone to feel bad about themselves. Sometimes I'm guilty of this. In order to say something nice about horrible work, I'll find something nice to say. For instance I'll say: "What beautiful whether we have today!" I love it when someone points something out to me that would helps me to improve. This is much different than when someone points something out to me because I'm doing it different from how they would do it as in, "This is the correct way to do that." When I started out in millinery, if you didn't earn the sticker, you didn't get the sticker. My millinery teacher, Mrs. Eloise King, would make you tear your hat back down to the frame while telling you what was wrong with it!
What You Will Learn in the Class--I Hope
So, back on track--the class. I'll try to teach you how to see; this can't be learned in a day; you really have to practice this skill. Even I'm going blind or I'm loosing my perspective on what good really is. You'll learn how to block fur felt so that no sizing will be needed, and you'll even be able to walk in the rain without your hat loosing its shape (that's Southern California rain). You'll learn how to put in a head size band. You'll learn how to attach a headband (outside) that hugs your hat without gaps. You'll learn how to finish brim edges (various finishes). You'll learn how to polish your felt, if needed. You'll learn how to "drop a wire" in a certain type of brim...and no, a dropped wire is not sewn to the hat (in most cases)! It floats! What you will walk away with is a professional looking hat.
Email me at
lduncan@hatstruck.com if you are interested in taking the class.
When: March 8, 2014
Time: 10:00 a.m. to 6:00 p.m.
Location: Torrance, California


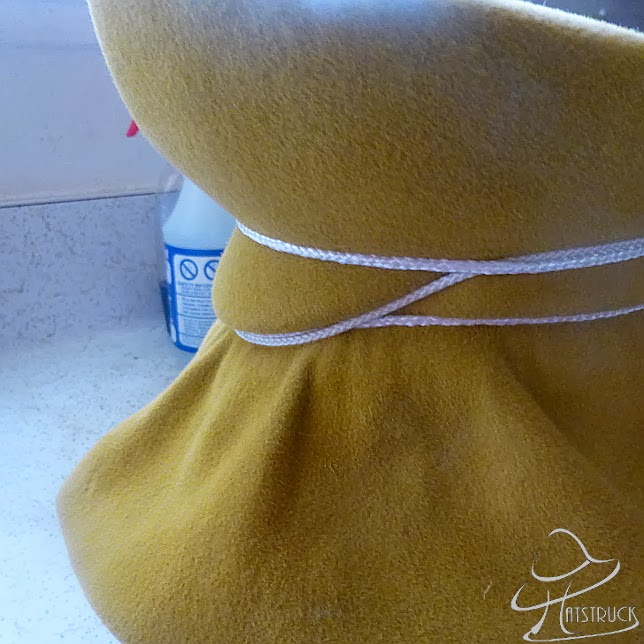
 Anyway, above is an improved version and to your right is the first version of my top hat; note the taper, plus I decided to flatten the tip. The technique for tapering the sideband came from my Pinterest board, How Other Milliners and Hatters Do It, the pin on creating a Fosshape top hat. When you think about it, Fosshape has some of the same properties as felt, it's a non-woven material that stretches under steam and heat, etc., (1. non-woven material, 2. stretches under steam and heat). So given that they share some of the same properties, it's intuitive that the sideband of the felt would be shaped in the same manner as the Fosshape top hat, correct? Anyway, wonderful tutorial, but my tip was created in a much simpler manner. I will be teaching how I created my flared top hat in my upcoming class on March 8, join us. Wow, I just told you how to do it! Pretty easy if you don't focus on how I did mine. I can think of several other ways of doing this, and I'm sure that many of you can do much better than I did.


