 OK, on this Saturday, March 8, my felt blocking class will take place, and boy am I really excited. As far as student turnout, it's a success! A lot will be going on on Saturday. Two students are returning for a hangout. My millinery teacher, Mrs Essie Edwards, will be stopping in. She also introduced me to one of her former students that is selling off her hat block collection. I purchased some of them and asked her to bring the others to class in case some of the students wanted to purchase her remain
 ing lot. I have some interesting students attending the class, one a television personality. I'm putting together a student notebook to keep me on track, as well as something to give the students to help them out after they leave class. Food, what will we eat; I'm still thinking about that one. Yes, I'm excited! I get excited about everything that has a learning and/or artistic component associated with it. I'm finally winding down from putting the class together--not one of my best loved things, but this child-like giddiness is the payoff!
 Well, like having a baby, you always forget the pain. I'm thinking about my next class, if you're interested. I wanted to do something light, something where I wouldn't have to haul hat blocks, except for maybe balsa utility blocks. The decision was easy. Why not do collapsible travel hats and silk organza, hand-rolled flowers to put on the hats? In addition to the travel hat I'll add non-travel hats with fully standing crowns and large brims that turn up or down--no hat blocks needed--appropriate for the races! Yes that's it!
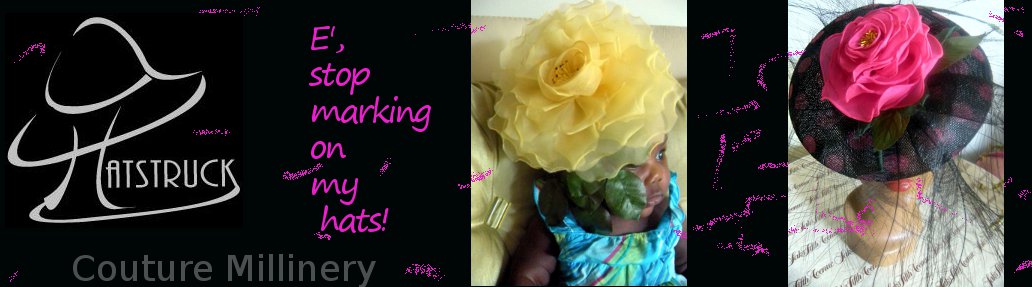
 So, I've pulled together images of travel hats I made in the long past and some hand-rolled flower images to give you an idea what I'm thinking about. I don't have images of the the full sized hats made without hat blocks, but as soon as the class is over I will get busy making a few, and I will post them when I finish. The travel hats and full hats can take from 5 minutes to an hour or so to make, depending on the brim treatment. You could be your own little factory if you decided to sell them.
 Back in the early 1990s travel hats were very popular. They were selling for $250 and up on Melrose in West Los Angeles and Neiman Marcus in Beverly Hills. You probably could find some going for that price in some high end stores today; I really couldn't say since I don't spend much time at Neimans any today because they don't have a large hat department any longer. Back in the day I would go anywhere that had beautiful hand made hats to look at. When visiting Neimans I would opt out of the valet parking and purchase a piece of candy so I could get my parking ticket validated. Now you didn't think that I was going to purchase a hat did you?
 Anyway, today travel hats are still big sellers, including the other free-form, more sculptural hats. They sell extremely well at fairs, conventions, and in boutiques. They are loved by the young, as well as the more seasoned ladies; they can also be made in men styles. I've noticed them selling between $35 and $120, depending on the type of straw they are made in, most recently. Let's face it, these are the types of hats that spell creativity. That's what many prospective hat buyers are looking for--something different. So if you don't have any hat blocks, and you want a sure seller for all ages, this would be the perfect class for you. Or you may just want to make something creative and special for yourself. I'll get back to you with more images.
 Well, if you're interested, let me know; late April? Plus, the price of the class is lower because of the materials and shorter time period for teaching it.







 Posts
Posts


