 It's almost time for my felt blocking class that will be held on March 8.
Usually, I ask students what type of hat they would like to create in
class. One of the students wrote that she wanted to make a top hat.
OK, it's panic time! I don't have a top hat block! The top hats that
I've made have always been flat pattern buckram hats. So I told her
that I didn't have a top hat block, but that she was not to worry
because I'd figure something out. Usually I think up some over kill
process to solve an issue. So I had two techniques I thought about
using, but I scrapped those because, as I've grown older, I prefer to do
less labor intensive things, or maybe I'm just growing lazy. I prefer
to let my brain do the heavy lifting. That process usually starts by
sitting in a chair, looking out into space, and just thinking.

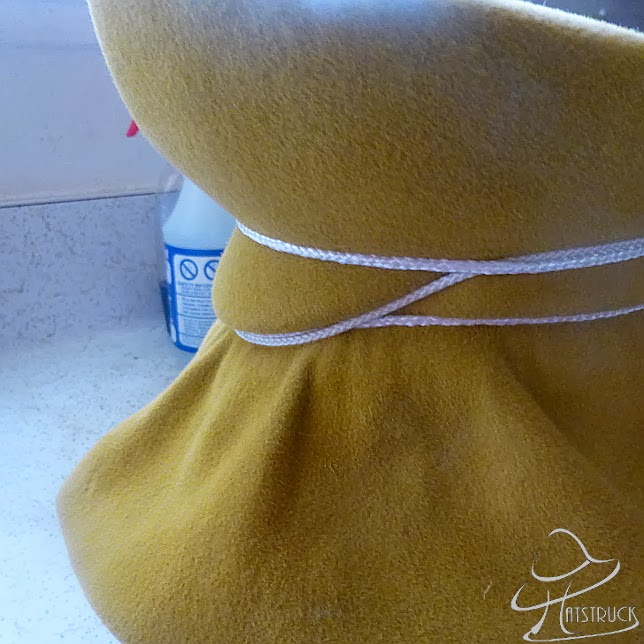
Now as I was sitting in my chair thinking, I started looking around the room, and there I found my solution. A two minute solution that I've been using for decades! I became excited and started blocking my hat and shaping the flared tip (top) until hunger set in. When hunger sets in, everything ceases: the sun goes down, the air is sucked out of the room, my head "jumps time;" you get the picture. So after I had cooked and eaten, I refined my project and a flared top hat prototype was born. Note that I could have made a flat tip. I can't wait to teach the technique in class. Now all I have to do is taper the size down to the small head size of the student. Stay tuned. By-the-way, I always keep pre-used materials to practice on. I love continuous experimentation and learning!
Another Example of Blocking Without Pins and Nails (American Style Hat Block)

 OK,
for those that have been told that you will not be able to get crisp
edges, etc., on blocked hat materials (felt, straw, etc.) unless you nail it down, it's
probably because they either don't know how to block without pins and
nails, or it's because they haven't been successful at doing it
themselves. Also, you must remember that there are more components to blocking than steaming and securing the material to the block. Here I have a 30s/40s doll hat block (small adult hat
block). Usually, when I see some of the cap blocks they have been
pinned or nailed in the area of the bill (visor) where it meats the head
size. So if the block has been used often, that area has probably been
destroyed.
OK,
for those that have been told that you will not be able to get crisp
edges, etc., on blocked hat materials (felt, straw, etc.) unless you nail it down, it's
probably because they either don't know how to block without pins and
nails, or it's because they haven't been successful at doing it
themselves. Also, you must remember that there are more components to blocking than steaming and securing the material to the block. Here I have a 30s/40s doll hat block (small adult hat
block). Usually, when I see some of the cap blocks they have been
pinned or nailed in the area of the bill (visor) where it meats the head
size. So if the block has been used often, that area has probably been
destroyed.Anyway, here are a few images that shows how to block a cap without pins and nails. Keep in mine that as the style of block changes, so does the solution for blocking it without nails or pins. You have to use your imagination before you start banging into your block.


How did you do it? Make the top hat with the flare?
ReplyDeleteActually, I've given you everything (see latest blog post)...and I've even mentioned the technique on the blog before, but as it applies to something else :) I'm saving this one for my class.
Delete